Related reading
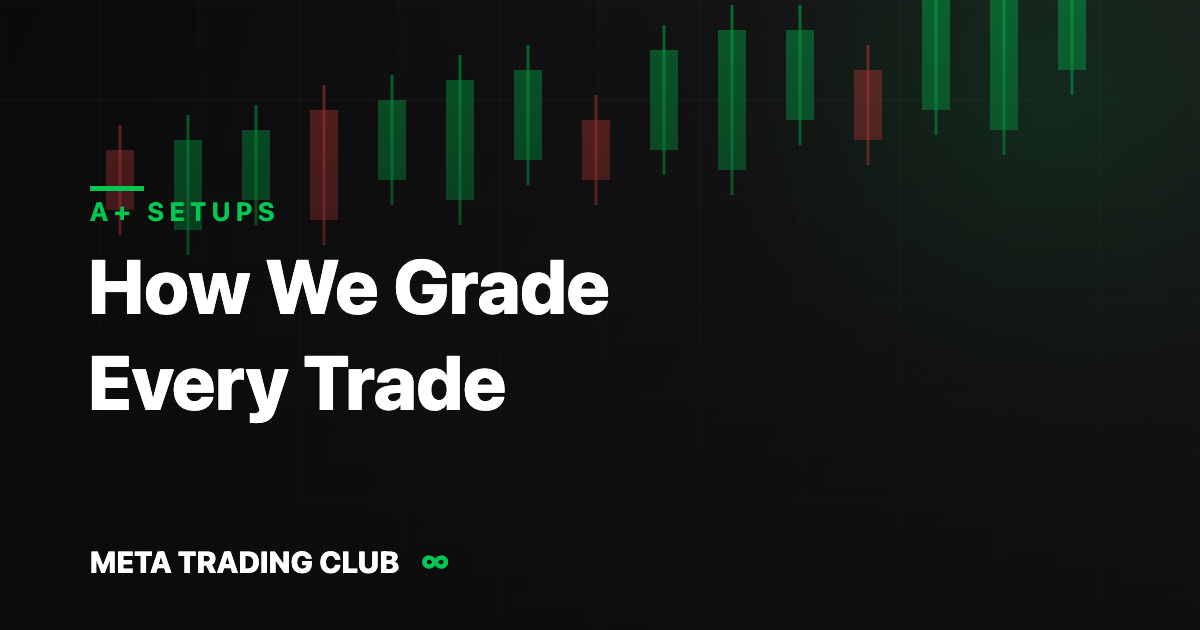
An A+ setup is a trade that passes every phase of a qualification sequence — clear higher-timeframe bias, a pre-marked key level, a real reaction, a fired confirmation trigger, and pre-defined execution with at least 2R reward-to-risk. Most traders call setups A+ based on how they feel. This guide shows you how to grade them based on what price actually did.
The grading rule
A+ is not a feeling — it is a score. All five phases pass = A+ trade at full size. Four pass = B trade at reduced size. Three or fewer = C trade, and C trades do not get taken at all. Most losing traders are not bad at finding setups; they are bad at refusing the C trades.
Why Grading Beats Guessing
Two traders can look at the same chart and take the same entry — one is gambling, one is executing. The difference is a defined standard. When every trade is graded against the same five checks, three things happen: your losers get smaller (C trades disappear), your winners get bigger (full size only goes on A+ trades), and your journal finally means something, because you can separate bad luck from bad process.
The Five Checks That Make a Setup A+
Proprietary Framework
The MTC Alignment Engine™ — Applied Every Live Session
Every trade runs the same five checkpoints — consistency over gut reaction. Inside the MTC Incubator, members build their own system on top of this framework.
1. Bias — the higher timeframe agrees
The trade goes in the direction of higher-timeframe control: higher highs and higher lows for longs, lower highs and lower lows for shorts. An A+ setup never fights the timeframe above it. How to read this: multiple time frame analysis.
2. Level — marked before price got there
The entry happens AT a level you marked in advance — support, resistance, a prior breakout point, or a session high or low. If you drew the level after price reached it, the level is not a level; it is a justification.
3. Reaction — the market shows its hand
Price does something at the level: a rejection wick, a stall, absorption on the tape. A touch is not a reaction. The first touch is information, not an entry.
4. Confirmation — a trigger actually fires
A reclaim, a break of the reaction high or low, or a breakout and retest — in the direction of your bias. This is the difference between entering on proof and entering on prediction.
5. Execution — 2R minimum, decided in advance
Stop where the setup is structurally wrong (how to set a stop loss), size calculated from stop distance and account risk (position sizing), and a defined target giving at least 2R. A perfect pattern with 1R available is not an A+ trade — the reward has to justify the risk.
A+ vs B vs C: What Each Grade Looks Like
A+ (5/5): bullish daily structure, price pulls back to a pre-marked breakout retest level, rejects it with a wick on volume, reclaims the reaction high, 2.5R available to the prior high. Full size.
B (4/5): same setup, but the reaction is weak — a stall without volume. Tradeable at reduced size, because one phase is uncertain.
C (3 or fewer): price is mid-range, no level nearby, but the move “looks strong” and you are afraid of missing it. This is not a setup — it is chasing with extra steps. No trade.
How to Start Grading Your Own Trades
Print the day trading checklist and grade every trade for two weeks — including the ones you skip. Then open your journal and sort by grade. Nearly every trader who does this finds the same thing: their A+ trades were profitable all along, and the C trades were quietly paying for everyone else. The edge was never missing. It was being diluted.
Frequently Asked Questions
What does A+ setup mean in trading?
An A+ setup is a trade that meets every condition of a defined qualification checklist – higher-timeframe bias, a pre-marked key level, a real reaction at that level, a fired confirmation trigger, and pre-planned execution with at least 2R reward-to-risk. It is the only grade of trade that earns full position size.
How rare are A+ setups?
Rarer than most traders want to accept – often only one or two per day across a whole watchlist, and some days none. That is the point: the grade filters out everything that merely looks tradeable. Fewer, bigger, cleaner trades outperform constant participation.
Should I only trade A+ setups?
A+ and B trades, with size matched to grade – full size for A+, reduced for B. C trades are skipped entirely. This grade-to-size link is what turns a checklist into a risk management system.
Is an A+ setup the same as a high-probability setup?
They overlap but are not identical. High probability describes the win rate of a pattern; A+ describes full alignment of bias, level, reaction, confirmation, and execution on a specific trade. A historically high-probability pattern showing up mid-range with no reaction is still a C trade.
Related reading
- The Day Trading Checklist (free PDF)
- Learn Trade Qualification: the full framework
- Position Sizing Strategies
Want to learn this live? Trade alongside us inside the MTC community — start your 7-day free trial.
Meta Trading Club Community
Start Your 7-Day Free Trial
Daily live sessions. Real-time market prep — not signals. The MTC Alignment Engine™ applied in front of you. Trade alongside Shahryar from day one.
Cancel anytime. No contracts.
Already trading and want to build your own system?
The MTC Incubator is an application-based mentorship — 1-on-1 work building a personalized system on the Alignment Engine™.